如何将 Next.js 项目部署至Github Pages
1. 创建 Github 仓库
新建仓库名称约束: username.github.io, 其中 username 为 Github 上的用户名(或组织名称).

2. 创建 Next.js 项目
npx create-next-app@latest --typescript
# or
yarn create next-app --typescript
# or
pnpm create next-app --typescript
3. 打开 package.json 并添加脚本
 "scripts": {
    "dev": "next dev",
    "build": "next build",
    "start": "next start",
    "lint": "next lint",
    "export": "next export" //add
    ""
  },
4. 添加 github Actions
关于 GitHub Pages 站点的发布源: https://docs.github.com/cn/pages/getting-started-with-github-pages/configuring-a-publishing-source-for-your-github-pages-site
鉴于 Next.js 的源码文件格式并不能直接作为发布源, 我们需要对项目进行打包处理, 同时也可以做一些代码 check, 所以我们需要添加 github Actions.
添加文件: .github/workflows/gh-pages.yml
name: GitHub Pages

on:
  push:
    branches:
      - main
  pull_request:

jobs:
  deploy:
    runs-on: ubuntu-22.04
    permissions:
      contents: write
    concurrency:
      group: ${{ github.workflow }}-${{ github.ref }}
    steps:
      - uses: actions/checkout@v3

      - name: Setup Node
        uses: actions/setup-node@v3
        with:
          node-version: "14"

      - name: Get yarn cache
        id: yarn-cache
        run: echo "::set-output name=dir::$(yarn cache dir)"

      - name: Cache dependencies
        uses: actions/cache@v2
        with:
          path: ${{ steps.yarn-cache.outputs.dir }}
          key: ${{ runner.os }}-yarn-${{ hashFiles('**/yarn.lock') }}
          restore-keys: |
            ${{ runner.os }}-yarn-

      - run: yarn install --frozen-lockfile
      - run: yarn lint
      - run: yarn build
      - run: yarn export

      - name: Deploy
        uses: peaceiris/actions-gh-pages@v3
        if: ${{ github.ref == 'refs/heads/main' }}
        with:
          github_token: ${{ secrets.GITHUB_TOKEN }}
          publish_dir: ./out
了解更多详细信息请前往: https://github.com/peaceiris/actions-gh-pages
5. 将代码推送至仓库
rm -rf .git
git add .
git commit -m "init"
git branch -M main
git remote add origin git@github.com:LZS911/LZS911.github.io.git //注意改成在第一步创建的仓库
git push -u origin main
6. 修改仓库设置
将 Branch 选项设置为 gh-pages

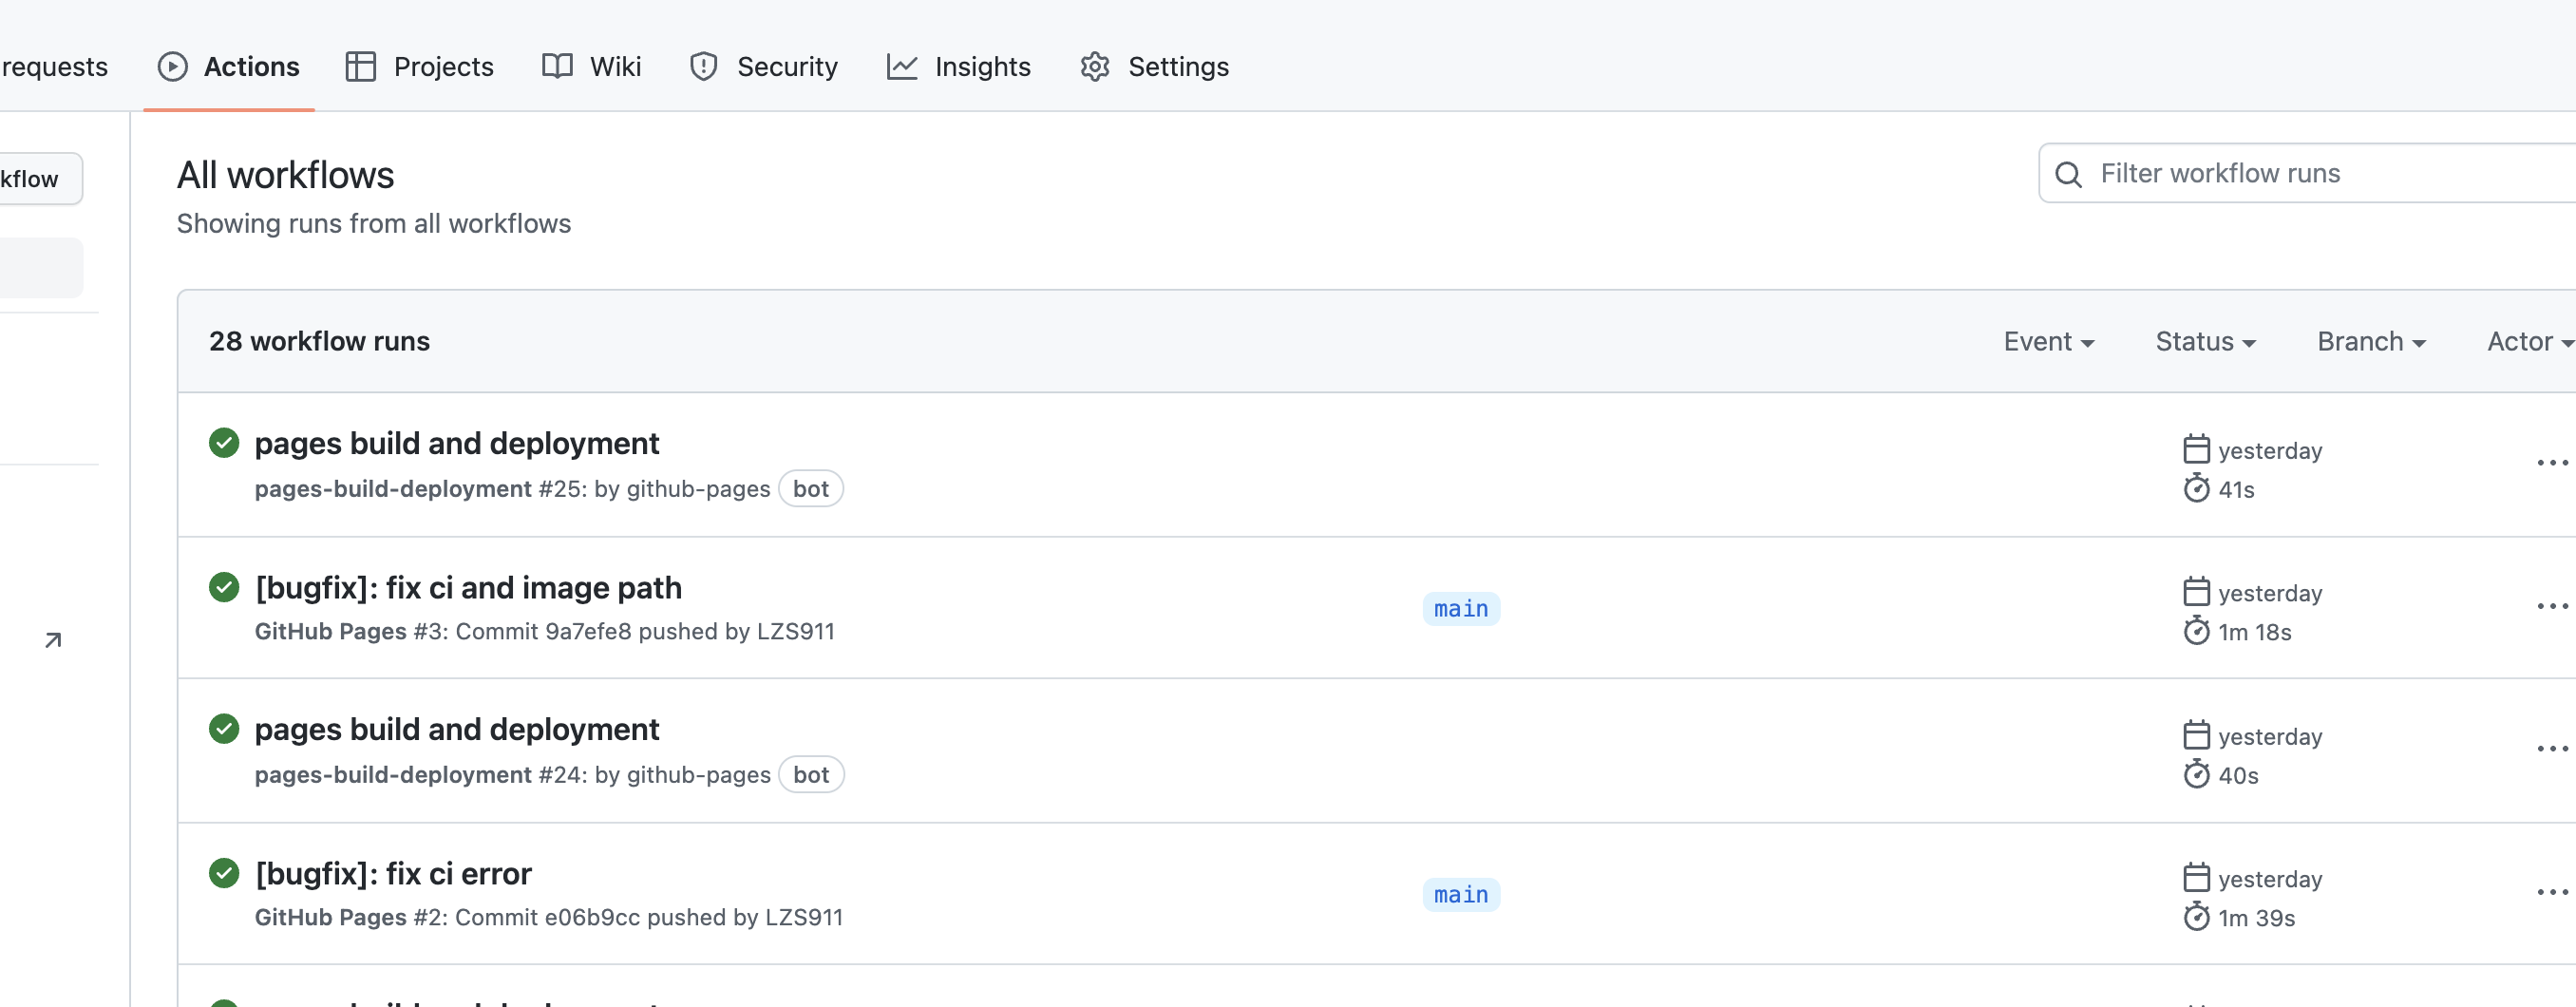
7. 等待 Actions 成功

最后, 打开 https://lzs911.github.io/ 便可以访问到创建的 Next 项目. 后续更新只需要推送代码至 main 分支即可.
